Hulk.. SMASH!!!!

But yeah.. this is the massively huge Hulk bust that I picked up a while ago from Fantasy Realms Models which also includes a Wolverine model to be headbutting against him with.
And while I have been on vacation last week ( photos of Scotland, and castles to come~ ). But while on vacation my old man was here ( reason for the vacation actually ) and he was curious on my paintings. So I figured I would whip something together to show him how quickly a large piece can be prepped and set up for painting, and what I use for it.
On this occasion I thought why not tackle the Hulk bust.. it will be primarily airbrushed, and that can be done in minimal time. So that is what I set out to do!
First thing first.. a proper coating of grey primer. Only because the resin that was used on this monster is so white that I cannot understand what is a mold line, and what is a part of the model. Lots of carved in pieces on the sides and back of it.

Big beasty here... but looking closer we can begin to see some of the miscasts or mold lines on it.
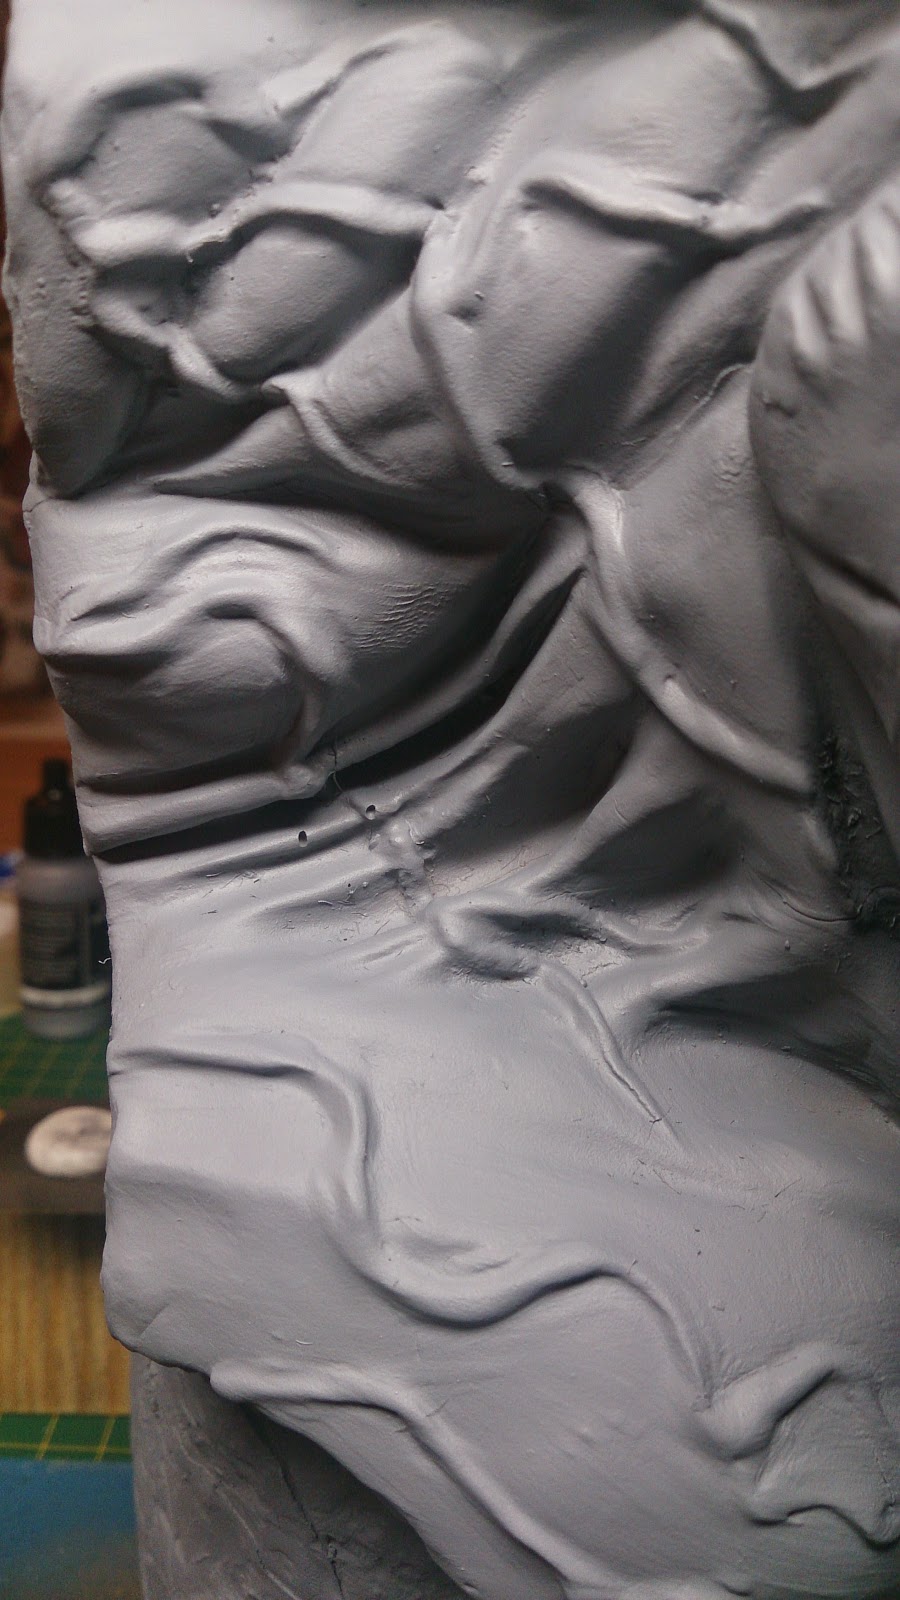


Easier to fix it when I can see it. And then a simple second coating of the primer makes it all better again. Though there was the nose cavities that were a complete pain here. As they were filled with resin as it they were a venting spot. Poor placement for that. And I had to pull out the dremel to drill them out, and I cannot say that it turned out very well. Will try to hide it with colors later...

Once that was done, I also did a top spray of white to get some light action happening on it. You can see in the photo above that it is a monster piece here! Compared to the 18ml bottles from Scale75 beside it!
To start with this one, I wanted to try something a bit different. I wanted to give pre-shading a try. And for this guy, and using green.. I attempted to go with Purple as the undershadow color. Probably not the best color, but it is the feeling that I wanted to go with.. so let's see how it goes!

At this point I have hit all the shadow areas that I wanted to hit.. and I was actually thinking of just painting him purple at this stage! Was looking really cool!
I also think that I should have done some pre-highlighting here with some bright yellow.. but this came too late in the process. Next piece then!

The green begins to get applied to the bust. This was done with a full 5ml cup of green thinned down.. and I needed 2 more to get a full coverage! Dammmmn huge!!!!

First layers down, and already the shadows and light can be seen a bit. Not bad for 30 minutes work so far in painting!


Slightly lighter green in the light now. Hard to fully see due to the desk lamp, and my cell phone photos! Camera was still recovering from the vacation at this point.
What is strange with this copy is that there is so much hair on it.. and even a goatee!!! So for this I tried a more blue/black style...


Needs more work obviously, but it is slowly coming together..

Here you can see much clearer the nose issues.. but it will go in time I believe.
Basically at this point I stopped, and showed it to the old man. He was surprised I got so far in such a short period of time.
Next steps is covering the none skin areas with black to frame the piece. And then doing maybe another layer of green/yellow for highlights before tackling the other areas.. such as teeth, gums and eyes. Then I can work on the details with the brush a bit more. And push the contrast further on this piece.
Some shots now below from my camera.. in better day light settings also...


Really liking the direction it has taken, and having fun with the airbrush on it. A bit more to go, and then brush work. But I doubt I will get into too much details on it since it is more of a fun piece than a full on showcase piece. But let's see what happens from there.
Let me know in the comments what you think of it though!


Hello Mr Lee !
ReplyDeleteVery good start a very interesting figure, I'll follow with interest .
Cheers .
Thanks LOL.. quite a monster though.. very difficult to get at with the brush surprisingly enough!
DeleteWow, he's a beast! Great start Mr. Lee, looking forward to seeing how this works out.
ReplyDeleteCheers Michael.. am also curious how it will turn out in the end :)
Deletegreat start to this huge bust! - the comments on the pour spout marks and seam lines?.... most garage kits that are hand poured and cast have this issue.. but if you are new to the hobby i think it will be an interesting point..
ReplyDeleteThanks Ian.. I know that it is hand poured as I have a few others. Just the placement of the vents is just weird. Could have been done better I think and left less clean up in the end. The mold lines were not so bad, but the parts in the nose? Not easy to get rid of. And if you are new, this would have been a big turn off to that collector.
DeleteFinally! I had seen that bust like 2 years ago and wondered how big it was. Holy crap. How heavy is that thing? I'm glad to see some one with your talent tackling it :)
ReplyDeleteThanks Zab.. this is very heavy.. I want to say over 3kgs? I could be wrong, but after a bit of painting it feels like 100kgs!
DeleteAnd thanks for the vote of confidence on painting this.. am curious how it will turn out in the end!
That looks awesome so far!
ReplyDeleteCheers Simon!
DeleteHola Amigo
ReplyDeleteGuau que buen empiece,estaré a tentó
un saludo
Gracias JD!
Delete