Rust.. continued....

So yesterday I finished off with the above photo. Showing the model covered in rush and paint and looking all worn and what not.
Now I want to show what it looked like against the socket itself. And for this I did a solid coating of a single type per facing, before mixing the 3 together in different ways.

My plan was really to just lay down a really thin layer of the rust. Learning from my mistakes on the model itself.
From here I would then do a stipple effect in the top right corner and another layer on the bottom right corner.
This was the plan anyways, and I can say that I am more or less in line with that near the end there.
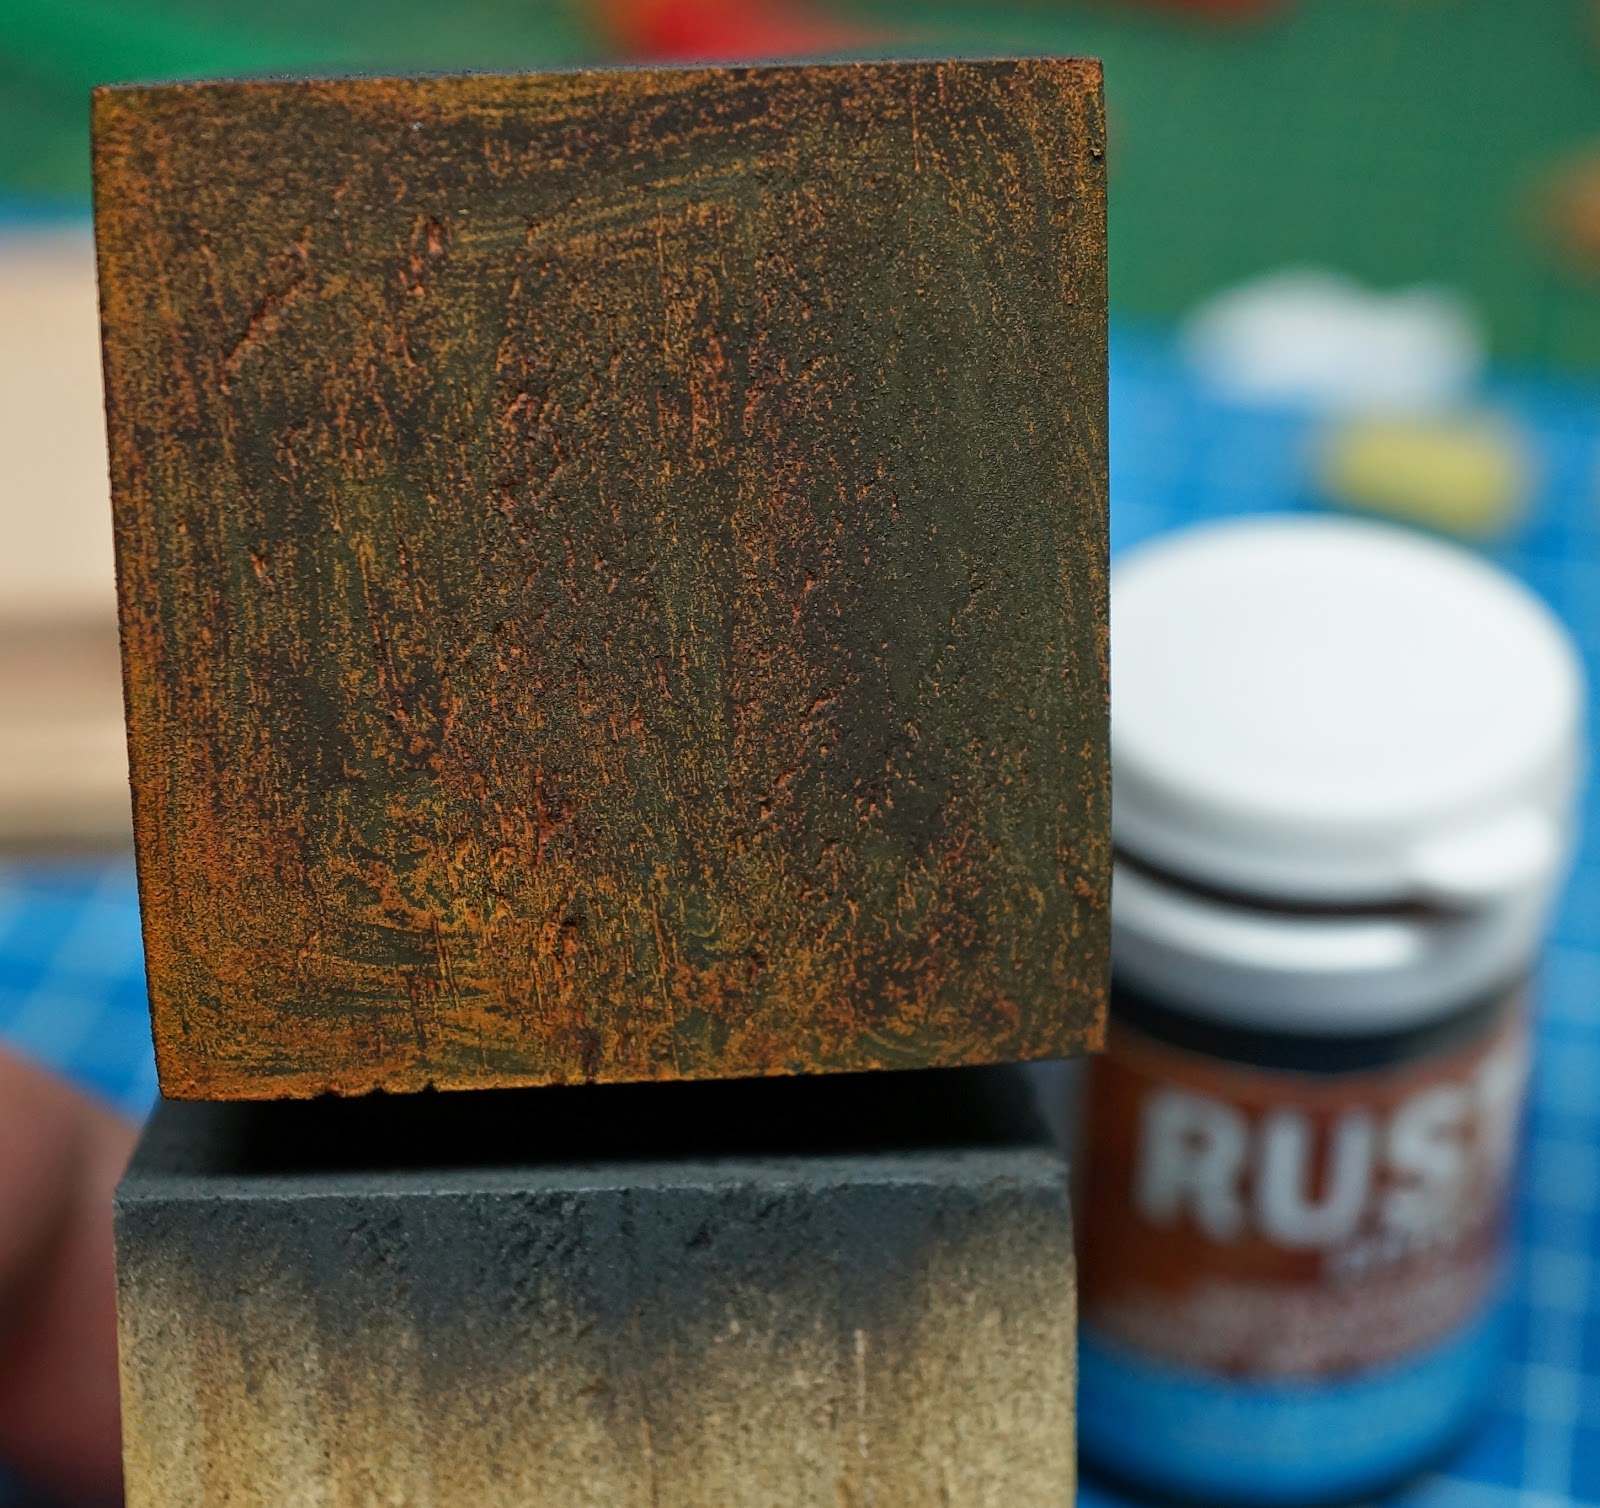
So here are my first results of said tests.. and again using the darkest color out of the bunch.


As you can see that it turned the dark grey into a brownish mix, and the edges especially began to turn Orange. The stippling did not turn out so good, but the second layer was even more orange in the middle of it. So basically where ever it pooled up, it would shift color a bit more... or at least go a bit brighter in that section.
Next up.. Normal rust..

And the same treatment as before..
Again we see that it turns orange, and in comparison to the Copper it does so much faster and in larger areas. Almost turning yellow in some areas of the piece.

With the stipple, we can see some texture begin to appear, giving it an interesting look. And the bottom area we see some interesting pooling occurring. Very interesting!
And last was the Yellow rust..


This one came out super bright, and very streaky! Where the others went on in a smooth application, this one you can really see the brush strokes as it was on the socket.

But it also gave the most interesting stipple and second layer looks. Going a bit darker and blacker in parts. Almost like the stipple section ( top right ) was burnt more than rusted out! Very cool!

Last but not least is the application of using all 3 on the same piece and seeing directly the differences between them.

From bottom to top it is Coppor, Normal, Yellow. But they really reacted weird with each other, and I also threw some water at them. I really liked how this looked, and now want to paint a tank or 3 that are rusting in a field or building somewhere!

And again you can see the colors used but in reverse order and thinned a lot more.
Main things I can say that Roman also pointed out is that you need to keep the bottles closed. Although it is to be used like paint, it dries like rust. And it can dry fast!
Use an older brush for this as it will destroy said brush! I need to see how badly I mucked up my brushes, but at the moment they seem to still be ok.. let's see what a bit more oxidization does to them!!!
And the final socket with model on it looks like this..


A nice little addition for my painting cabinet now. And a good piece to test the use of rust on!
Hopefully this information was useful. If you have questions on it.. comment below. If you liked.. comment below.. heck if you got this far, and still have energy.. comment below! :) Would love to hear your thoughts on this! In the meantime.. it is now the weekend here in UK.. for those out here.. enjoy it! And expect some epic travel posts coming up next week with probably the odd travel prep coming up over the long weekend! Enjoy!


Ok I'm convinced. They all look like rust at different stages of decay. Excellent I love it!
ReplyDeleteThanks Clint.. I thought this would help promote what the products can do a bit more on a different surface. Great stuff though, and really liking the effects.
DeleteAgreed. That is some versatile stuff. Is it acrylic or spirit based?
ReplyDeleteI believe spirit based, but am not too sure. Will have to chat with the maker of them to find out more!
DeleteAn interesting piece. Many thanks. One question: you talk about the colour shifting several times. As it can be pushed about with water once it's dry it's obviously going to need sealing with varnish. Does that change the colour too? That was always a problem with pastels...
ReplyDelete