Salute and Modelmates!

The above photo is a shot of the event from last year. More specifically, from the center stage area of Salute where the organizers were.
Although I will be attending the event once more ( I mean.. come on.. why wouldn't I???? ).. but there will be a bit of a twist..
This time I will be helping out Alan from Modelmates at his stall during parts of the show!
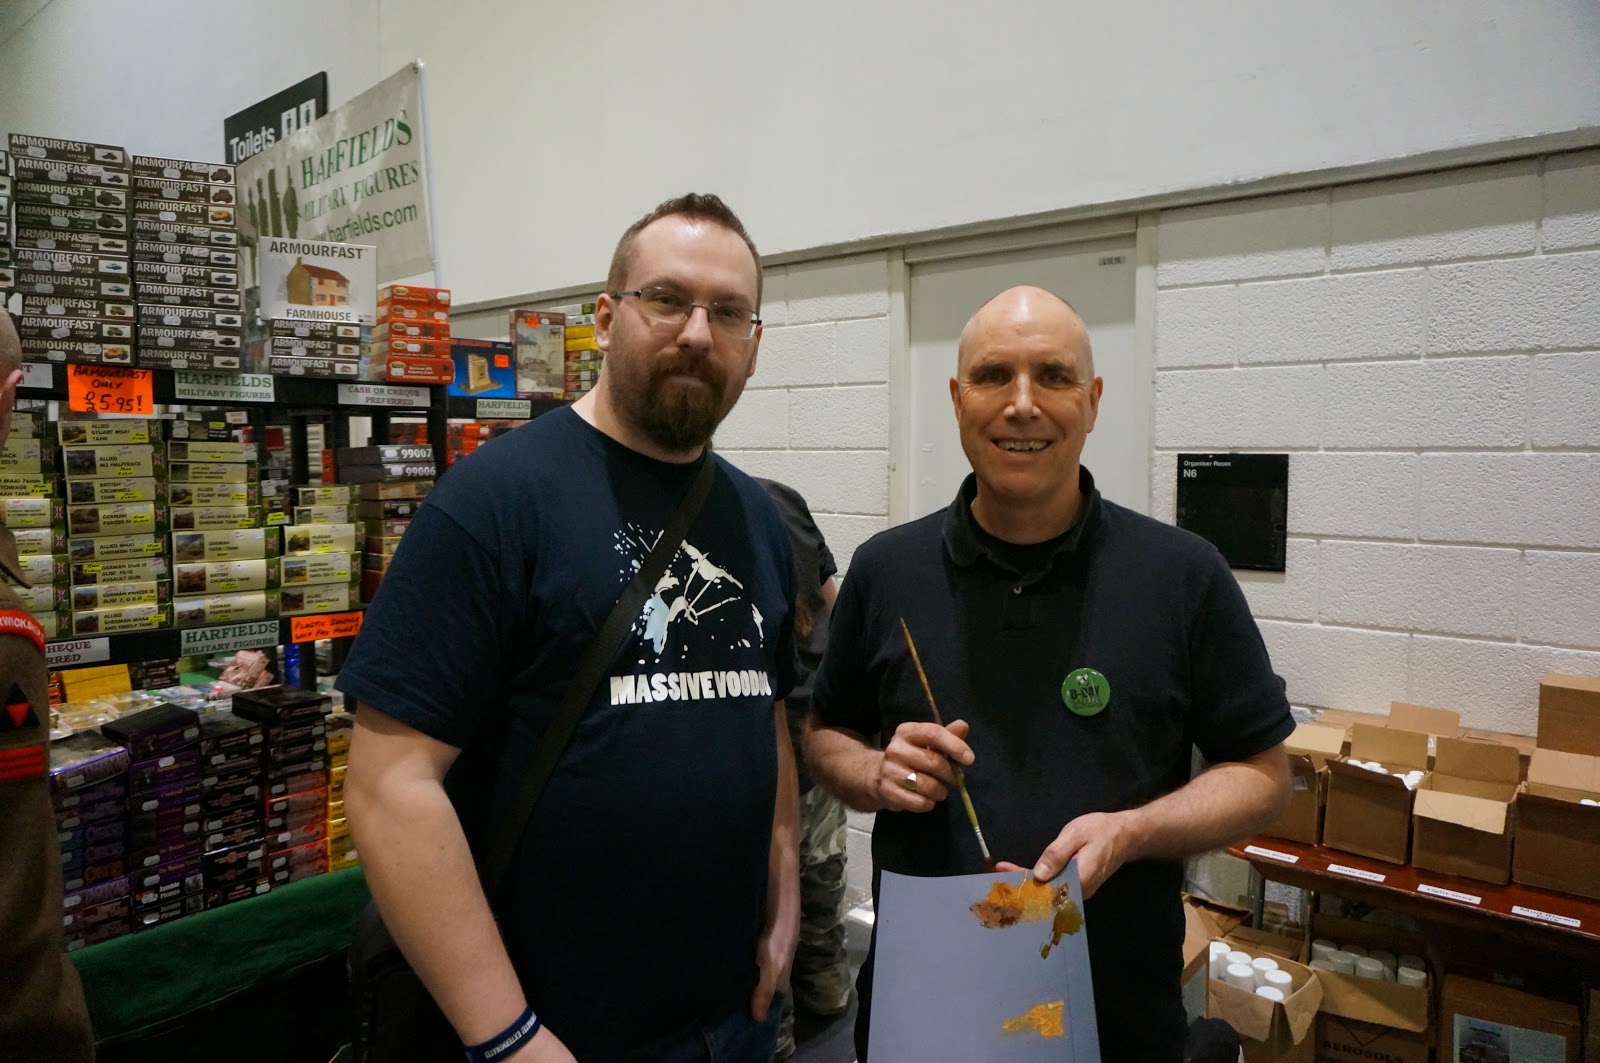
I first got to know this great guy at last year's show thanks very much in part to Roman over at Massive Voodoo. Who had sent me on a special quest to chat with him, and pick up some supplier for my private coaching lessons that would be happening soon there after.
I have had a few interactions with Alan since however including going to the master modelmate's house to see some of his newest, secret products int he making! Maybe we will see some of them at the show!
However some of his products I have had the honor of working with over the past year especially ( holy.. has it only been a year! So much has been done! ).
A few of his products that are available..

Here is a run down of projects that I have used his products on, and perhaps a few more surprise ones at the end..

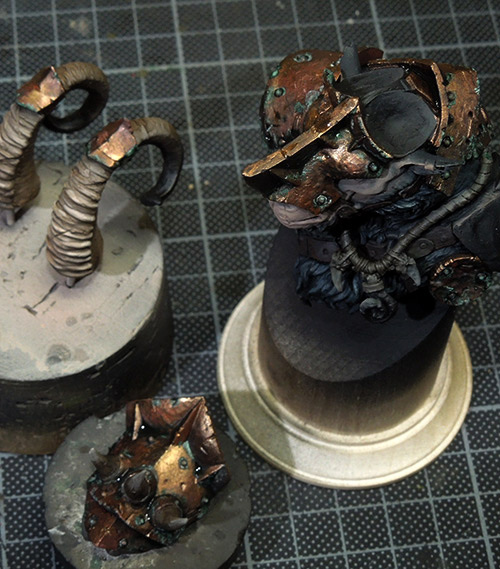
Sci-Fi Maulg was one of the first to get touched by the modelmates. You can see it in play especially on the air tank at the front there. This was using the Rust colors ( as they were the first to be garnered ) and provided me some very nice texture. It was applied thinned down with water, but not overly thinned. And let to dry in layers. With some sepia, green, and flesh washes put in between layers as well.
I really liked the effect on nit, and have used it in other projects since.. though I still have to go back and finish this poor guy and rush up the rest of him.
You should be able to see it more clearly at Salute when I bring him to show while at Modelmates booth.

On my Ronin piece you can see the base work here. I primarily use the mud and sand pigments here. Modelmates has quite a few different mixtures there, going from a base pigment, to a light/dark wash like pigment as well.
For this one, I used a variety of them, and let them dry naturally. No hairdryer. It would pool up in places, and the was kind of the effect I was looking for.
From here I was able to apply some washes, and dry pigments to give it a bit more variety.

The fisherbot project was another one that I wanted to paint the base completely with Modelmates. As the scene was to be a post apoc like scene, I went with a desert like scene for it.
The application of the pigments was simple enough. Here I just loaded up the brush with pigments for the base, and mixed them all together while on the base. It gave some really interesting colors. And on the static grass, it bleached the ends of the grass blades giving them a bit of a dried out feeling.
That and the robot itself was covered in the Modelmates rust pigments. I even had a chance to test one of the newer products in trials which was very thick rust. One that as you paint it, it really builds up large layers on the piece itself.
Again just used in layers though, but I also painted it with some chipping fluid applied after application, and then spraying on the blue sections.

After seeing the effects for showcase bases, and models, I began to experiment on my gaming bases for my Bolt Action Japanese forces.
My goal here was to have something that would quickly give me a nice odd pattern on the bases of sand that the troopers stand on. And the Dark Mud Base color from Modelmates was the perfect fit here. A fully loaded brush laid onto the bases was quick, and easy. Once finished a quick drybrush of beige/white topped it all off.
Helps that it was over a base coat of light brown as well ( which I was already doing for the models ). So this just added to it.
Adding a bit of water or other pigment types to the base would also shift the colors a bit here and there. Giving the bases some variety considering that I have over 200 of them to paint up :)
To show how fast they made the process, you can see this post where I spent the weekend churning out infantry almost by the hundreds :)

Another mini diorama that I did up as the exchange figure with Roman over at Massive Voodoo. The roof section was almost exclusively used with the Modelmate Rust pigments. It made that aspect very easy o paint up and move forward with.
I say almost completely, as I also added in some orange washes, and green washes after some layers to give it some more vibrancy.
You can also see some rust on the pipes to the left, and right. Simple product, but great results with some interesting variety coming from it. And if too much, can be dulled or toned back with washes or just water in general!

For the last project that I had used these products on, it was the Portal Round 2 paint off model. Where I had applied some of the rust pigments in areas, but was using more paint and pigments for that section.
Instead I focused on the ground bricks. After a few unsuccessful painting attempts, I just reverted to using a thinned down version of the Modelmates Sand pigments to get the cracks of the bricks to look like sand has been stuck in there, and ground in by foot traffic. Again washes were applied overtop, but the random nature of the pigments from Modelmates still shone through, and gave some more realistic tones to the entire piece.
From the German side of things, Massive Voodoo has been doing up Tutorials of the Modelmates products far longer than I have been using them. And they are actually the ones to introduce me to Alan in the first place as stated before.
Starting from the Modelmate Primer sprays available, and showing off how they all work and look compared to each other.

Moving right on to their main product range of Rust pigments here. And giving some shots on how they can be used, and where, and what effects they can bring.

And the use of Verdigris that Roman used on his Forged Monkey beastman bust. And how to tone down the brightness of the pigments with use of washes and glazes.
This article shows some really good things and some funny drawings before using the weathering sprays themselves. Drawing on a normal cardboard box, and then showing what the weathering sprays can do to change the tonality of the drawing.

And the last article from the Jungle Crew at Massive Voodoo is their Brick Joint Filler weathering liquids from Modelmates. And how Raffa implemented it to his small city diorama..

All photos concerning the articles are taken from the Massive Voodoo blog here with permission from the Jarhead himself.
Hopefully this article can show the variety of places that these products can be used. And looking forward to seeing everyone at Salute to talk about them more. I will have some of these pieces on hand with me to show off and talk more on. Come say hi, and let me know what you think!

Very exciting stuff. See you on Saturday!
ReplyDeleteThanks Mike. Looking forward to catching up with you again. Hope to get a bit of time to chat if possible ;) Come find me at Modelmates if time allows!
DeleteFrom the Jarhead himself ... lolz
ReplyDeleteAhh damn it, MV account ... The Jarhead himself is here, too lazy to switch accounts ... Have fun on Salute and give a good handshake from me to Alan!
ReplyDeleteToo many entries to Bananalicious2 it seems :) And will do mate! Will have some MV stickers with me as well there to hand out while chatting up the products :D
DeleteGreat post Kyle - I'll make sure I pop over and say hello :) I've got to pick myself up some more modelmates stuff!
ReplyDeleteGreat to hear! Will try to keep the South London jokes to a minimum then :D
DeleteI was going to ask you on the day where you got your rust effect paint from. I guess you have answered that..
ReplyDeleteSee you Saturday. Hope you have a good one.
Hope to see you there then Clint! Will be at the booth for a majority of it.. So looking forward to seeing you there!
Delete